
Quick Start
Get up and running with Hashiro in minutes.
1. Sign In
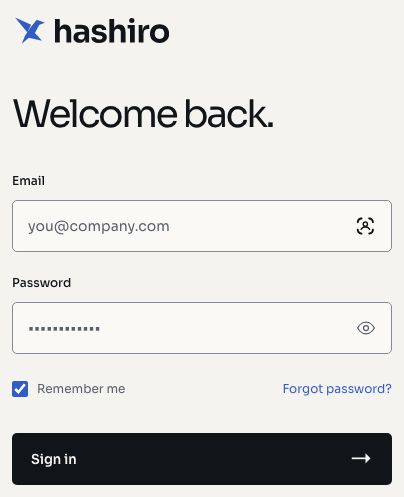
You'll receive an email invitation from your organization administrator or provider. Click the invitation link to set your password and activate your account.
Use the Hashiro console for your invitation and account setup.
2. Set Up MFA
Hashiro supports multi-factor authentication via TOTP (Time-based One-Time Password). We strongly recommend enabling it immediately.
- Navigate to My Account from the user menu
- Go to the Security section
- Click Enable MFA
- Scan the QR code with your authenticator app (Google Authenticator, Authy, 1Password, etc.)
- Enter the verification code to confirm
WARNING
Some organizations enforce mandatory MFA. If your organization has an OTP policy enabled, you'll be required to set up MFA on first login.
3. Explore the Dashboard
The Dashboard is your landing page with an at-a-glance view of your security posture:
- Open severe risks and open vulnerabilities across all projects
- Attack Surface summary: total assets and exposed services
- Cloud Security posture score and misconfiguration count
- AI Agents: active runs and total assessments
- Vulnerability trends over time
- Needs attention: recently discovered findings requiring action
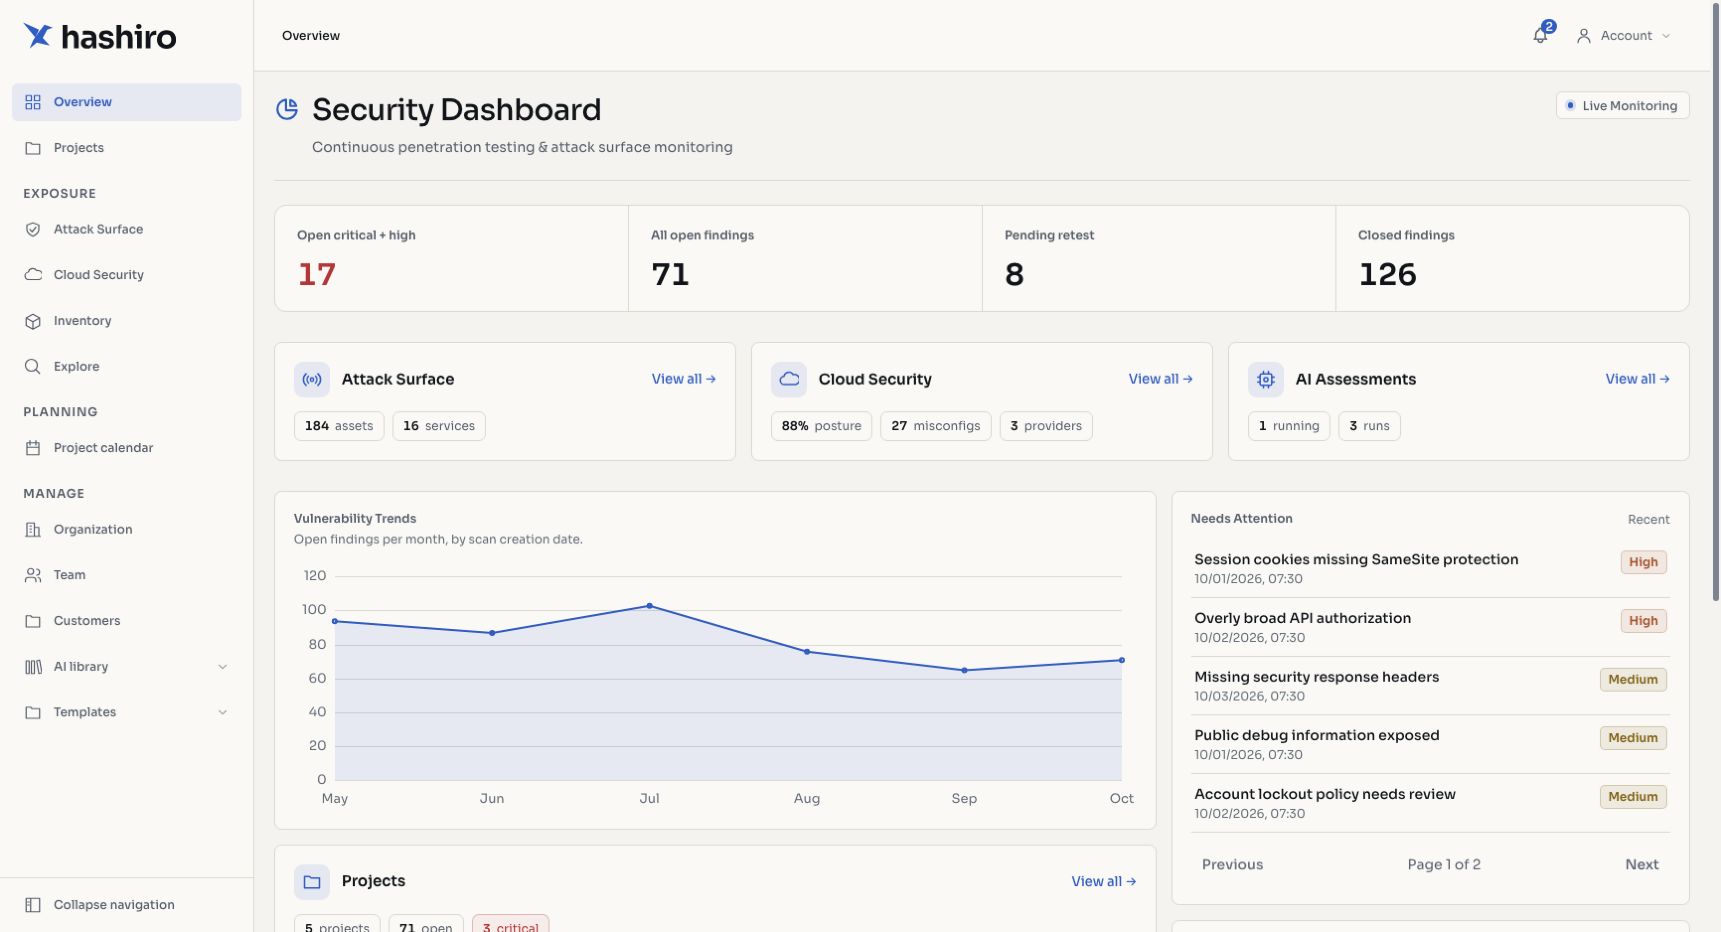
Screenshots use fictional demonstration data.
4. Your First Attack Surface Scan
If your organization has EASM enabled:
- Navigate to Attack Surface in the sidebar
- Go to the Config tab
- Review in-scope targets and add exclusions under Out of scope. Providers manage included targets by default.
- Save the scope if your provider account has editing controls; otherwise request the change from your provider.
Without included scope, monitoring does not run. Once configured, Hashiro begins discovering assets, probing services, and identifying issues on your external attack surface automatically.
5. Create Your First Project
For manual security assessments:
- Navigate to Projects in the sidebar
- Click New Project
- Fill in project details: name, type (black-box, grey-box, or white-box), category, dates
- Define the scope: add in-scope and out-of-scope targets
- Add team members and assign roles
From here, you can begin adding assets, documenting findings, and building your assessment narrative.
6. Run an AI Assessment
If your organization has AI assessment credits:
- Open a project and go to the AI tab
- Select an Agent Type (this defines the assessment pipeline)
- Choose a Run Mode:
- Automatic: the AI agent works autonomously
- Assisted: you interact with the agent via chat
- Checklist: the agent follows a predefined test list
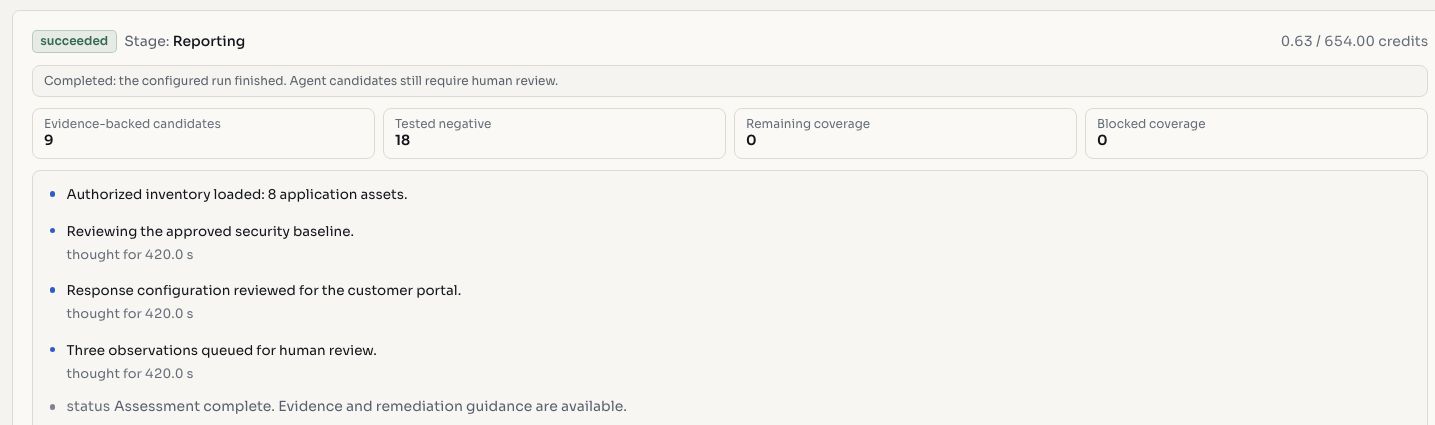
- Launch the run and monitor progress in real time via the streaming view
What's Next
- Dashboard: understand all dashboard metrics
- Attack Surface: deep dive into EASM features
- Projects: learn about project management
- AI Assessments: configure and run AI-powered assessments
- Team & Users: invite your team members